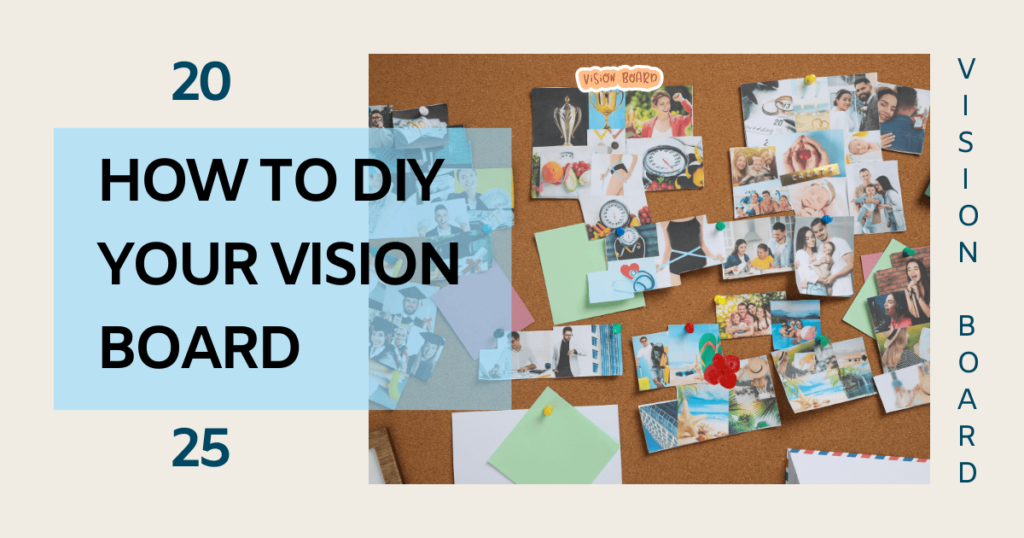
A vision board is more than just a collage of pictures and words—it’s a powerful tool for visualizing your dreams, setting clear goals, and staying motivated. Creating your own vision board can be an inspiring and enjoyable process that helps you manifest your aspirations. In this article, we’ll explore various DIY vision board projects that you can easily make at home, offering both traditional and creative approaches to help you craft a vision board that aligns with your personal style and goals.
Step 1: Define Your Goals and Intentions
Before you start gathering materials, take some time to reflect on what you truly want to achieve. Whether it’s career success, personal growth, or a specific milestone, clearly defining your goals will guide the content and layout of your vision board. Write down your intentions and prioritize them to ensure your board focuses on what matters most to you.
Step 2: Gather Your Materials
The beauty of a DIY vision board is that you can use virtually anything to create it. Here are some materials you might need:
– A poster board, corkboard, or canvas
– Magazines, printed images, and photos
– Scissors, glue, and tape
– Markers, pens, and paint
– Stickers, washi tape, and other embellishments
Feel free to get creative with your materials. You can even add 3D elements or use digital tools if you prefer a virtual vision board.
Step 3: Choose a Theme
A themed vision board can help you stay focused on a particular aspect of your life. Some popular themes include:
– Career and Financial Goals
– Health and Wellness
– Relationships and Family
– Travel and Adventure
– Personal Growth and Self-Care
Choose a theme that resonates with your current priorities or create a vision board that encompasses multiple areas of your life.
Step 4: Layout and Design
Start by arranging your images and words on the board before gluing them down. Consider the placement and flow of the elements—do you want a more structured, organized layout, or a free-flowing, intuitive design? You might also want to leave space for adding new elements as your goals evolve. Add your personal touch with colors, quotes, and anything that inspires you.
Step 5: Display and Engage
Once your vision board is complete, place it somewhere you’ll see it daily. This will serve as a constant reminder of your goals and keep you motivated. Make it a habit to engage with your vision board—take a few minutes each day to visualize your goals, reflect on your progress, and make adjustments as needed.
Creating a DIY vision board is a fulfilling project that allows you to express your creativity while focusing on your future goals. Whether you’re making it a solo activity or a group project, the process itself can be just as rewarding as the final product. So gather your supplies, get inspired, and start crafting your path to success!

